ANTOINE LADOUCEUR / LEVEL DESIGNER & SCRIPTER
  • Portfolio
  • Level Analysis
  • Dev Blog
  • Contact/Resume

DAILY CHALLENGE #10

5/30/2014

0 Comments

 
Hello !

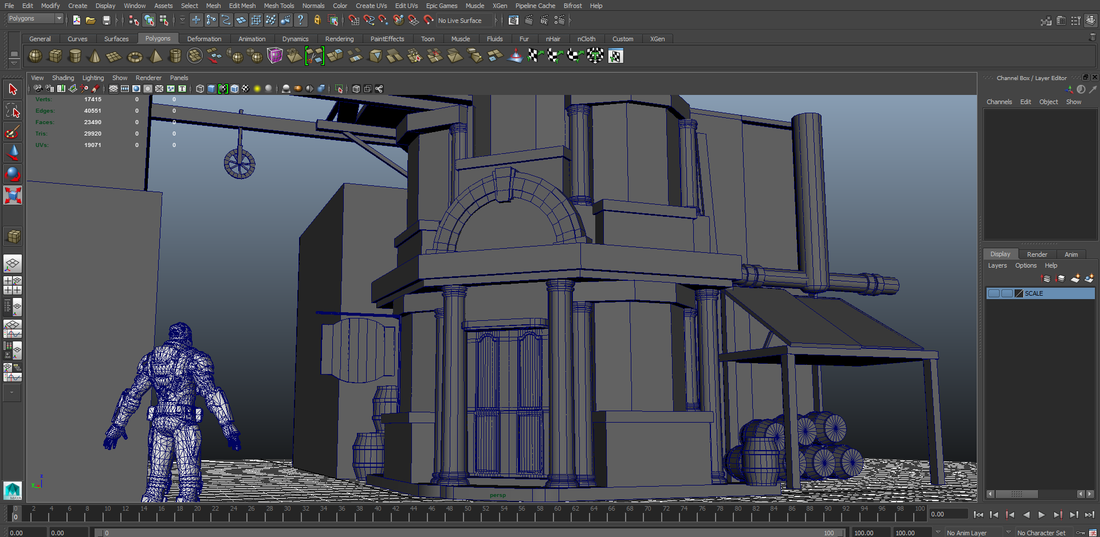
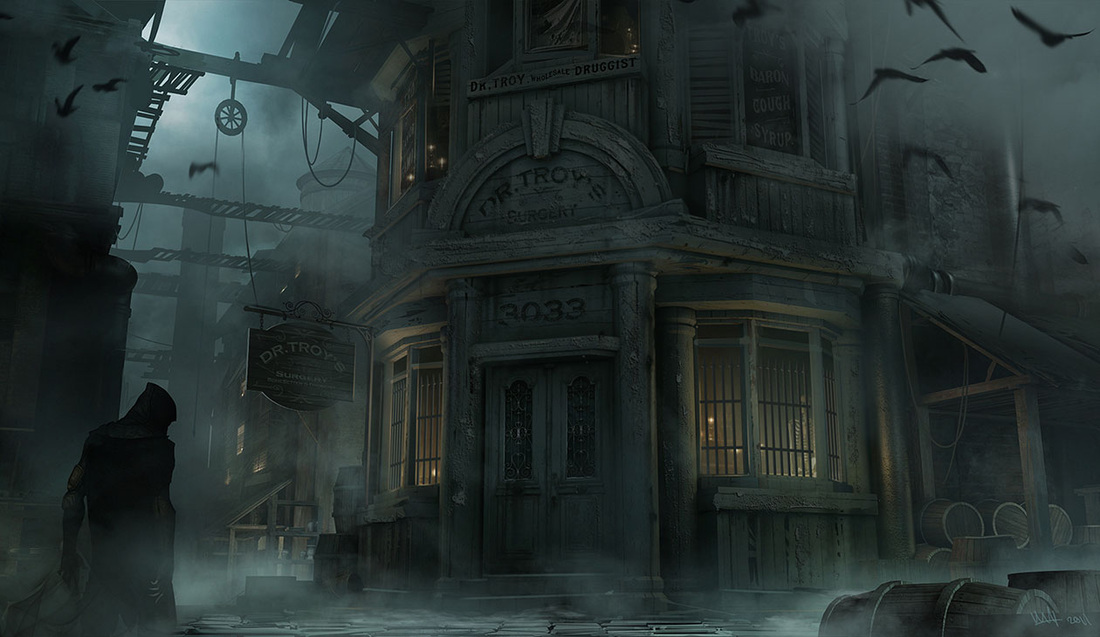
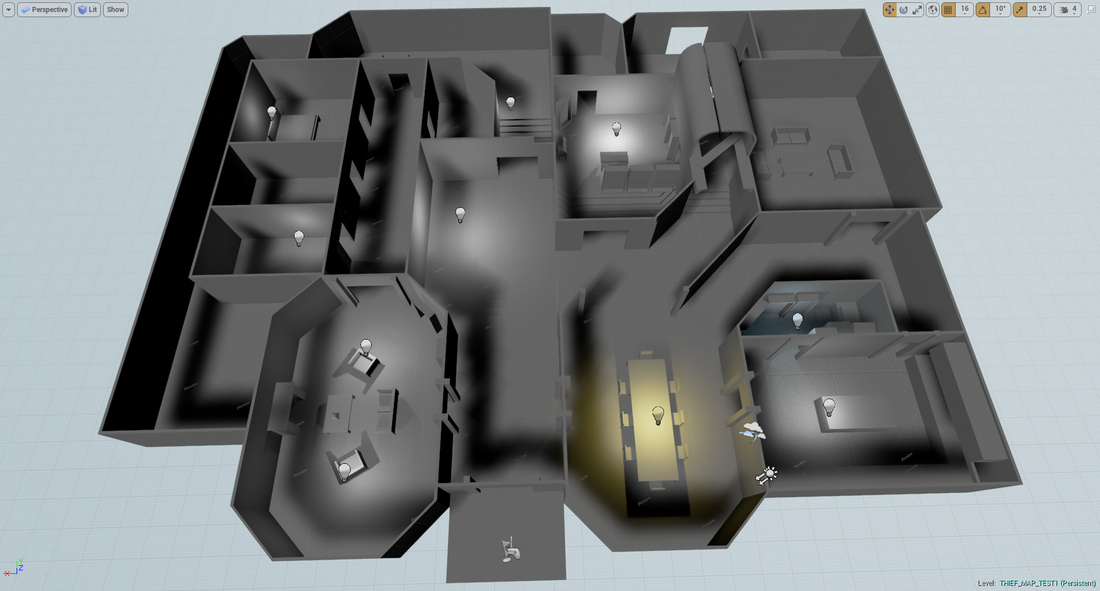
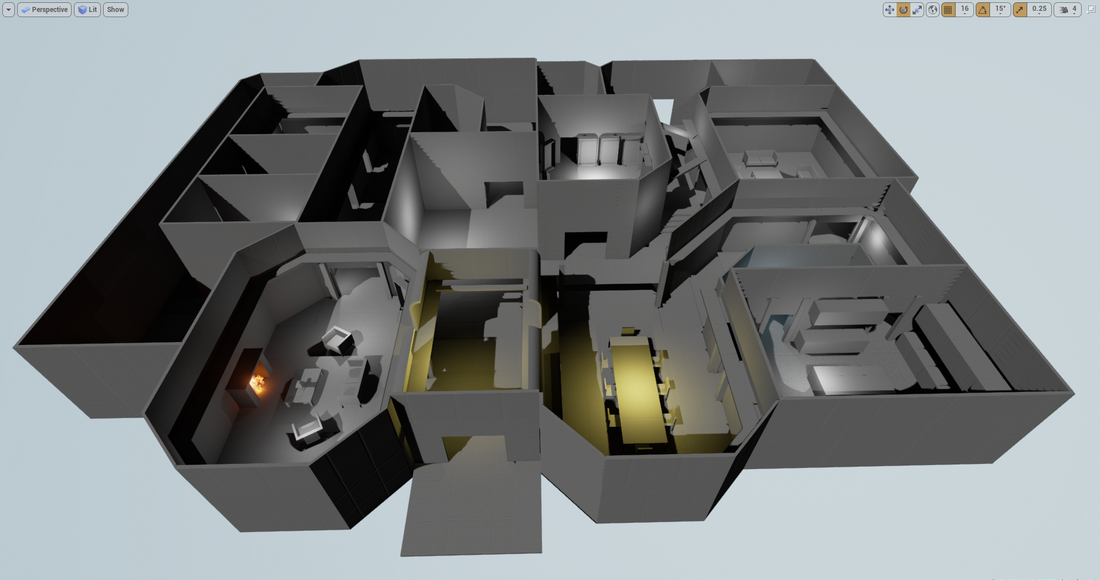
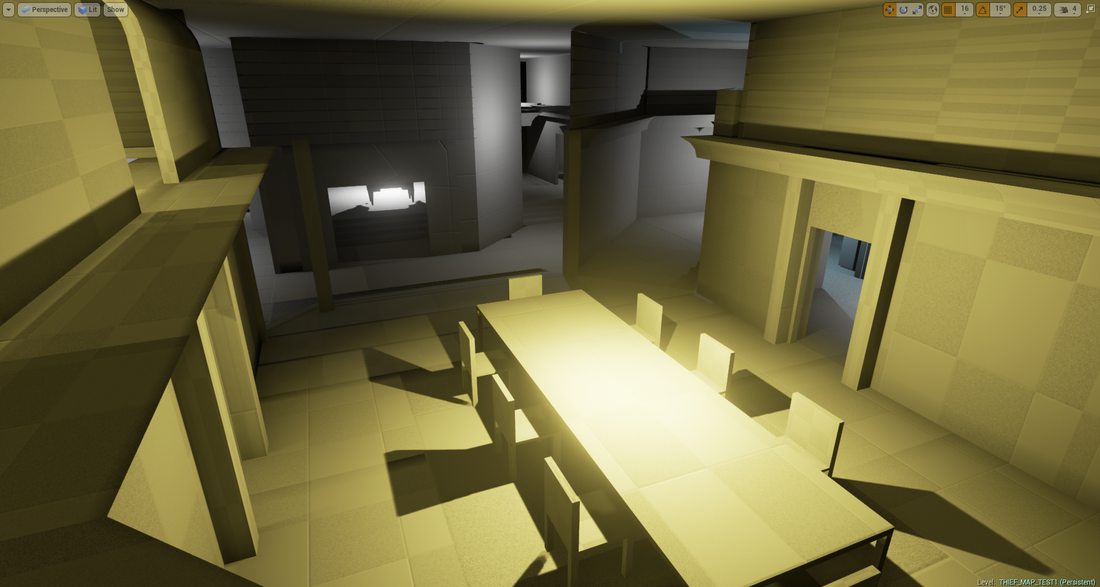
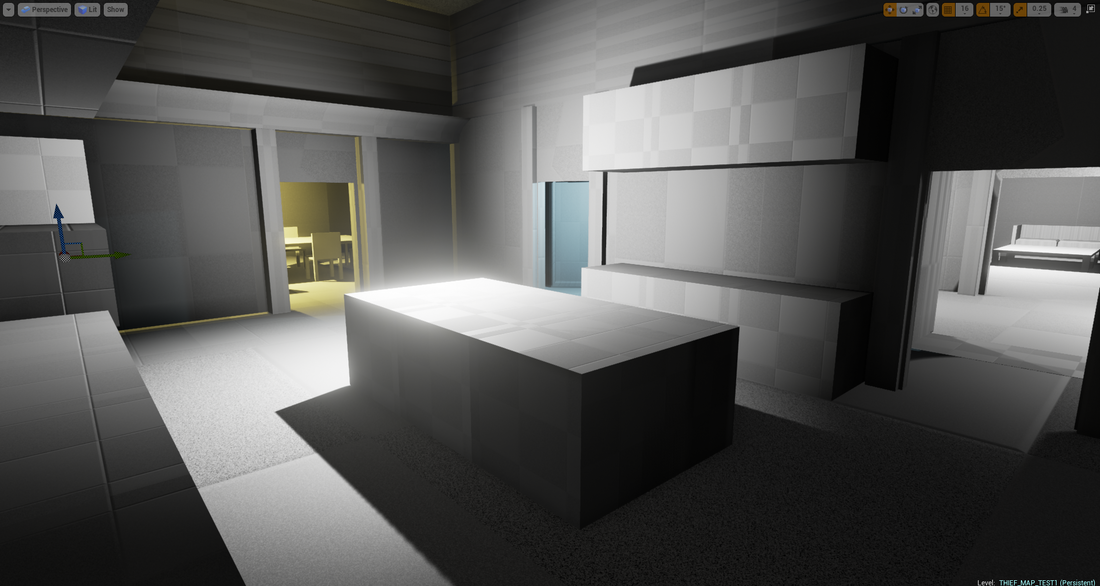
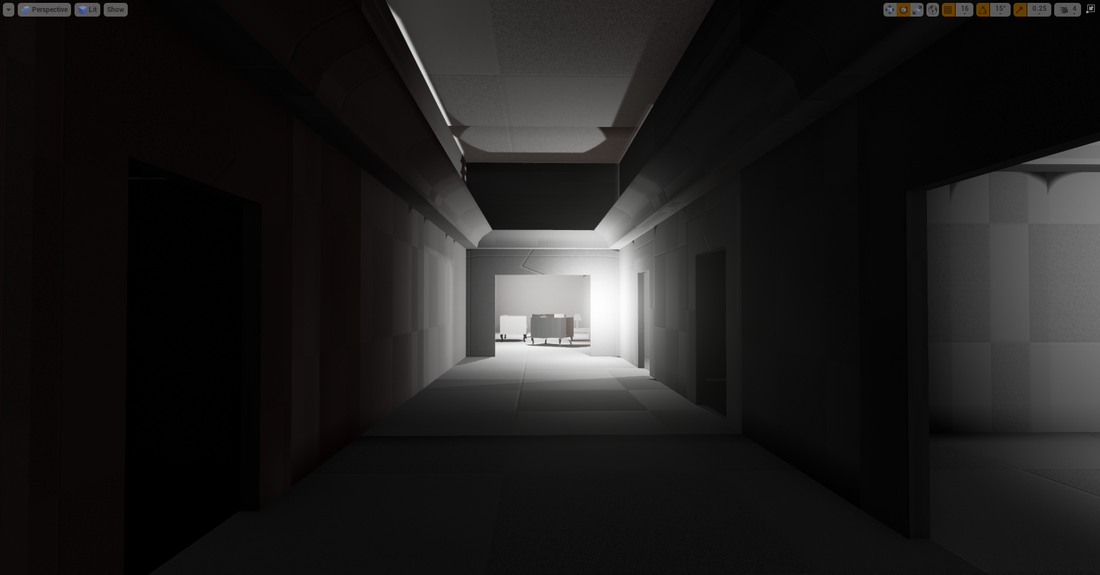
Nice relax Friday it was. So today I started to work on the Thief art side project. It was a blast and will continue to be. Here's a snippet of what the rough block out looks like (you can watch the concept art used to do this in the previous post). I can't wait to start texturing and building this set in UE4.
Picture
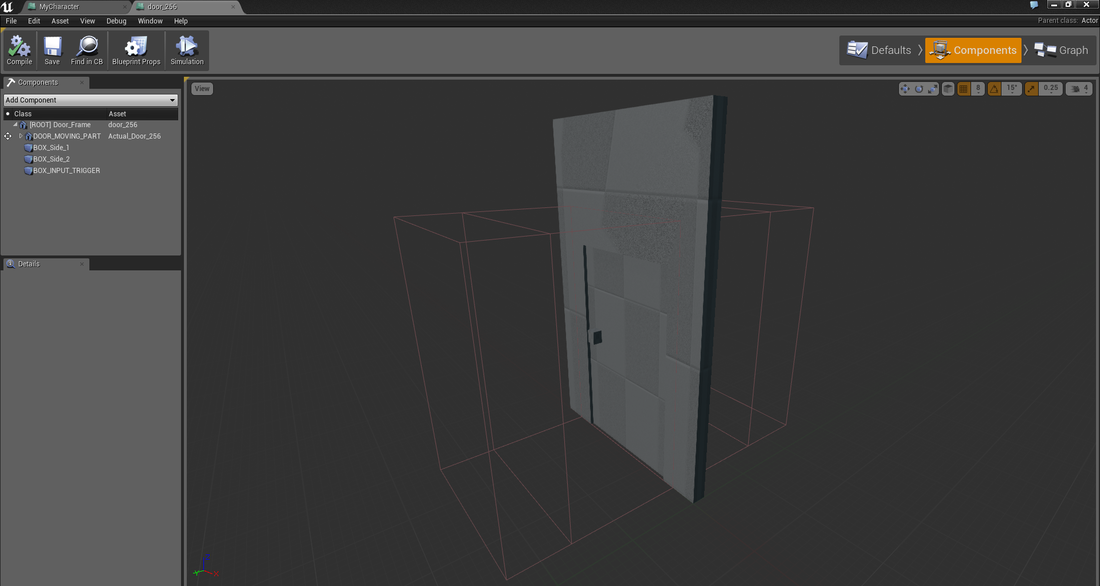
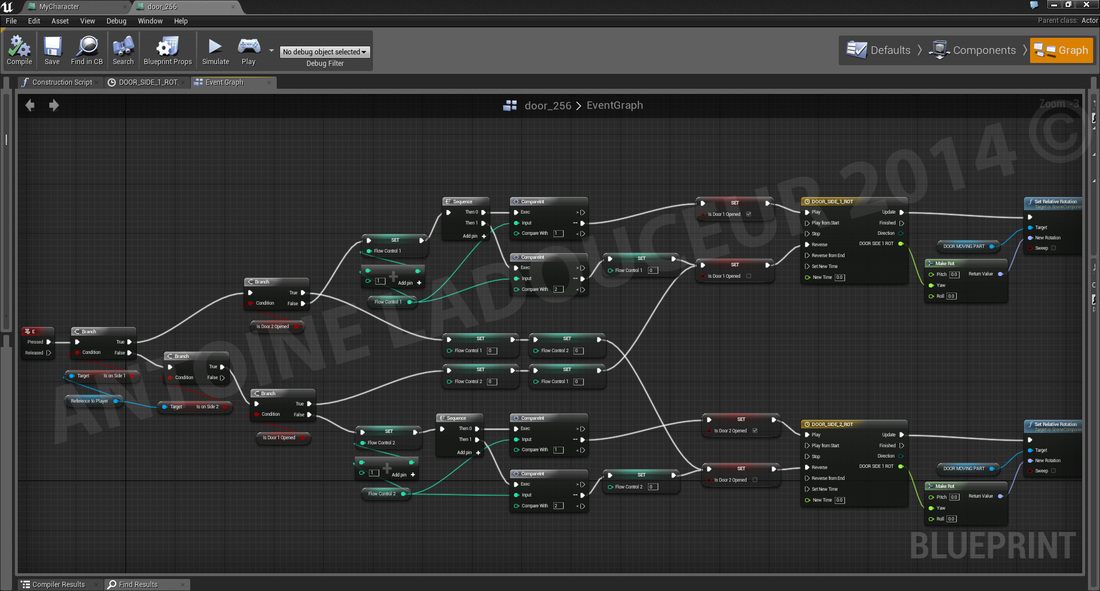
I did quite a lot of reading on Blueprint scripting and found a way to make a certain object highlight whenever the player looks directly at it. Therefore, I'm starting to really get the hang of "tracing" or "ray casting" and dynamic material instances in UE4 (quite different then in UE3 to be honest). When my set up is going to be completed and fully tested for multiplayer I'll do a breakdown in here.

Tomorrow is Saturday, meaning... I'll continue to work on some stuff anyway.

Ciao :) !
0 Comments

DAILY CHALLENGE #9

5/29/2014

0 Comments

 
Hello !

This is going to be a very short daily report. I've been learning a whole lot about scripting with Blueprint. Before I take the next step to polish the level, I need to have all gameplay components set up and working properly. This is what I'm going to be working on for the next few days:
    - Climb Function.
    - Picking Up Items.
    - Adjusting every bit I script to be usable in a Multiplayer context.
    - Occasional modeling for modular parts in the level.

I'm also starting a little side project which is simply going to be art oriented. I'm thinking about trying to recreate this environment (picture below) and rendering it in real time using UE4 or CryEngine.
Picture
0 Comments

DAILY CHALLENGE #8

5/28/2014

0 Comments

 
Hello !

So today I went on the challenge to create the most foolproof door script possible. Basically, my goals were:
  1. The door can be opened from both sides
  2. The door always opens away from the player. 
  3. The player can open the door, cross to the other side, close it and open it indefinitely.
  4. The player can open the door cross to the other side, close it and go to it's first position and open it and close indefinitely. 
  5. The systems will be used in a multiplayer game. It needs to make input possible for a multitude of player controllers (still learning Replication).
The algorithm behind this is in fact pretty simple. I spent quite a lot of time trying to understand how to use Event Dispatchers until I realized that it's currently only made to support exchange of data between a class and the level blueprint (unless I'm still not getting it haha). I was trying to use the Event Dispatcher to notify my door blueprint that the player controller (which was overlapping a box component from the door BP) was pressing the "E" key. And so I learned to simply use the Blueprint Comms for data exchange between blueprints.

The first part was to recognize where the player would be standing. In the door BP I added two box components on each side of the door (also added two static mesh components: the frame and the pivoting door (which is set to movable)). Component BeginOverlap and Component EndOverlap events were added for each of those boxes. I then added two bool variables to the Player Controller: isOn_Side1 and isOn_Side2. Whenever the Player would overlap with one of the boxes from the door BP it would set one of those variables to true (and endOverlap would set it to false). This is mostly to know which Timeline animation to use to swing the door open (door needs to always open away from the player as it is most elegant). The next part was to have another volume (box component) that when touched would use the Enable Input node set to "self" just like in the Blueprint Office example with the button and the console. This enables the Player Overlapping to trigger key events inside the door BP. I'm not posting this section on here because I still need to work on it so the Replication works perfectly (I need to read a little more about it).

Picture
The next part is the logic to actually open and close the door once the player position has been registered. I've initially done it with a Flip Flop that switches from A to B to open and close the door with supporting logic if the player crossed to the other side and close the door. That became quite a complicated routing of nodes and I eventually lost a bit myself. The problem with using the Flip Flop node was that I couldn't reset the operation to A at some point. B had to follow. So instead of using this node I used an integer variable that I called Flow_Control_1 and Flow_Control_2. Each time I pressed "E", the variable would be incremented by 1 and at 2 would close the door and reset to 0. If the player opened the door in front of him, crossed over to the other side (overlapping Box 2 instead of Box 1 for example) and pressed E the door would then close (reverse the previous timeline animation) and reset every "flow_Control" variables so that the next action registered would be an "open door" animation.
Picture
See you tomorrow ! :)
0 Comments

DAILY CHALLENGE #7 (Completing the Main Floor)

5/26/2014

0 Comments


LEVEL DESIGN

I feel today was a pretty productive day. I finished the basic blockout and added key components to my designer set. The ledges were tested numerous times and reworked inside Maya so that one of the player's feet wouldn't be floating in emptiness. I also took previous pieces and made them just a little smaller (in terms of height) so I could do a precise equalization of the ceiling on the whole level. I still need to cram in some pieces for the 45 degrees angled ledges that I haven't taken in consideration. But still ! The level blockout is in a pretty good state. Gameplay can happen. 
Picture
Picture
Picture
MAIN HALL
Picture
DINING ROOM
Picture
KITCHEN
Picture
MAIDS' QUARTER CORRIDOR (rooms are on the right)

TECH STUFF

The other part of the day was taken to refine/polish a little the player controller. I finally found what was keeping me from accessing the FOV of the player camera component. I needed to change its tag to "Camera" instead of "Default". So only then could I access the "set field of view" node from the Player Blueprint. I used that to widen a bit the FOV when the player is sprinting (a classic). The transition was pretty harsh so I found a way to blend between the FOV values of "I'm walking" and "I'm sprinting". I had a weird set-up with two Timelines at first but discard that quickly. I simply used a single Timeline (float track) and plugged the Update into the set FOV node. Whenever the player releases the shift key, the timeline will Reverse the playback where it was left and would go back to the original value creating a smooth blend between the two FOV states no matter how many times you mash the Left Shift key (sprint key bind). Another thing I did was creating a series of simple boolean logic to indicate in which state the player is (running, crouching, walking, etc). If the player is not walking, but simply standing still you don't want the Left Shift key to activate the FOV transition or change the Player Speed. If the player is walking backwards you don't want the player to be able to press the Left Shift (well in my case). It's pretty rare to see anyone sprinting backwards. To do that I just did a comparison between the Axis Input MoveForward Value (either "W" or "S" in that case) and 0. If the Axis Value is positive then you're able to sprint (walking forward - "W") if the axis Input is negative (walking backwards -"S") then don't allow sprinting. Pressing Left Shift also puts you out of Crouch state when walking forward.

Some really simple algorithms that really are necessary to foolproof the game.

See you tomorrow :) !
0 Comments
<<Previous

    Archives

    November 2014
    September 2014
    June 2014
    May 2014
    March 2014

    Categories

    All
    3D Work
    Daily Dev Challenge
    Game Reviews
    Level Design Inspiration
    Opinions
    Research

    RSS Feed

    View my profile on LinkedIn
Powered by Create your own unique website with customizable templates.
  • Portfolio
  • Level Analysis
  • Dev Blog
  • Contact/Resume